MetalsAlloy
How Can You Minimize Warping When Milling Aluminum Parts?
Published:
Direct Answer: How to Minimize Warping When Milling Aluminum
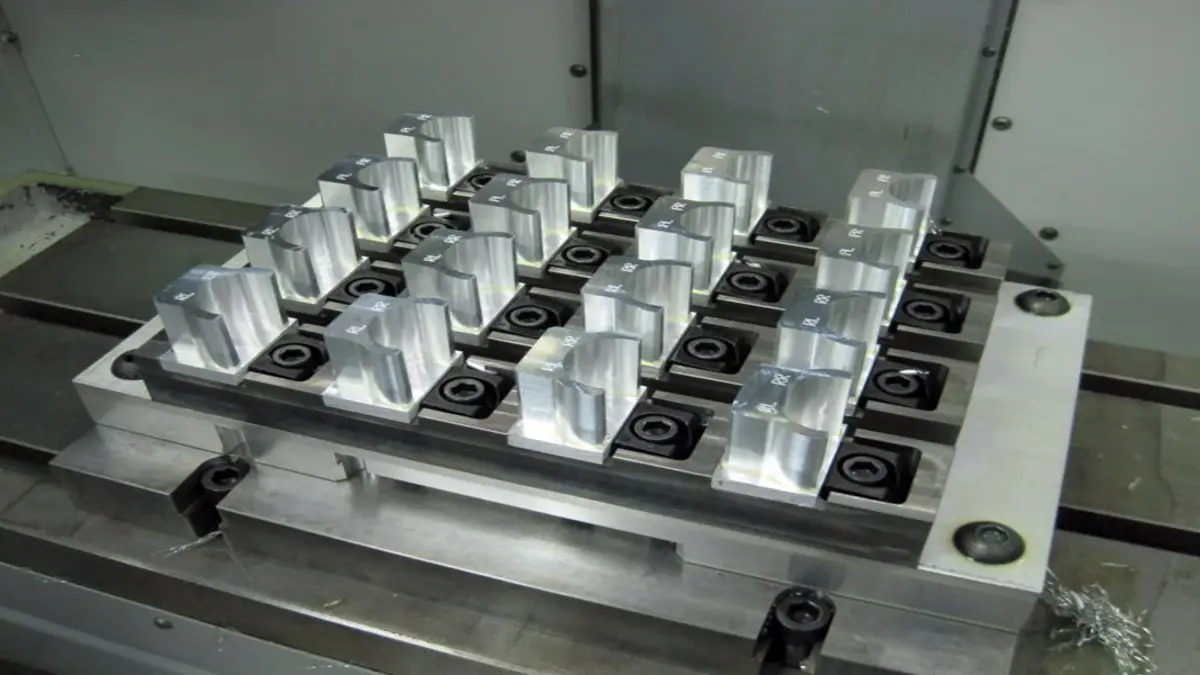
Warping when milling aluminum is a result of internal material stresses and machining-induced forces. To minimize distortion—such as bowing or twisting—it’s essential to combine appropriate material selection, balanced machining strategies, controlled fixturing, and process adjustments. For most aluminum alloys and product forms (plates, extrusions, forged or rolled stock), especially in thin or intricate parts, preventative steps include using stress-relieved material, alternating machining passes, avoiding aggressive cuts, using proper coolant, and releasing fixture stresses between roughing and finishing.
The solutions in this article apply to a wide range of commercial wrought aluminum alloys (e.g., 6061, 2024, 7075, 7000- and 6000-series) in common tempers (T6, T651, T3, etc.), as both plate and bar/rod stock. They are most critical for thin, flat, or deep-pocketed parts, but are generally relevant to all CNC-milled aluminum components where dimensional stability is required.
—————|————————|——————–|————————————————————| | Rolled Plate | T6, T651 (stretched) | Medium-Low | T651 is mechanically stress-relieved; less distortion risk. | | Cast Plate | MIC-6, ATP-5 | Low | Stress-relieved by annealing or proprietary process. | | Extrusions | T6, T5 | Medium-High | Higher locked-in stresses, prone to twist on one-sided cuts.| | Forged Rod/Bar | T6, T651 | Medium | May need stress relief for high-precision parts. |
Main Types of Aluminum Machining Distortion
- Bowing: The part curves like a potato chip, typically flat plates after face-milling one side.
- Twisting: The part takes on a propeller-like twist, common in long, narrow parts or after uneven milling.
- Bulging: The floor of a pocket or thin section swells out, often after aggressive pocketing.
1. Material Selection and Preparation
Choose the Right Alloy and Temper
- T651 or T652 plates (e.g., 6061-T651, 7075-T651) are stretched after quenching to minimize residual stress—prefer over standard T6 unless there’s a design reason not to.
- Cast tool and jig plate (e.g., MIC-6, ATP-5) is inherently low-stress, ideal for precision plates.
- For extrusions or non-stress-relieved products, expect higher warping risk—opt for stress-relieved if available.
Pre-Qualify Material (for Critical Work)
- For high-specification jobs, use ultrasonic inspection to check for large internal voids, especially in thick or aerospace-grade plates.
- If possible, use surface X-ray diffraction to measure residual stress in raw stock.
2. Machining Best Practices to Minimize Distortion
Balance Material Removal
- Remove material symmetrically when possible. Alternate between faces; avoid fully machining one side before the other.
- Flip and release the part between roughing and finishing, enabling the workpiece to relax before final cuts.
Take Controlled, Moderate Cuts
- Favor high spindle speeds and feed rates but use light depths of cut (small step-downs and step-overs). This keeps tool engagement smooth and minimizes localized stress.
- Avoid heavy roughing passes that generate heat or rapidly remove a large percentage of mass from one side.
- Use constant chip load toolpaths (e.g., dynamic milling strategies) to ensure more even stress introduction.
Leave Sufficient Stock for Final Finish
- Always rough with 0.2–1.0 mm (0.008–0.040") finish allowance—more for large or thin parts. This allows for stress relaxation before precision finishing.
Step Machining and Intermediate Stress Relief
- For especially tricky parts, rough out the shape, unclamp, let the part rest (or optionally perform a low-temp thermal cycle), then finish machine to size.
- Where warping is severe, a thermal stress relief (below 200°C/400°F for aluminum) can further relax stresses between roughing and finishing, but this may affect temper if not tightly controlled.
3. Fixturing and Workholding Strategies
Support Evenly and Minimize Clamping Force
- Use fixtures that distribute clamping load over as much area as possible (e.g., soft jaws, vacuum tables) to avoid point loading or distorting thin sections.
- Avoid overtightening—excess force can elastically bend aluminum, which springs out as soon as clamps release.
- For very delicate work, consider vacuum or magnetic fixturing.
Use Tabbed, Window, or Sacrificial Fixturing
- Tabs help hold parts flat during milling and are cut off in a final operation.
- If possible, machine pockets or thin sections in several steps, leaving a rigid border until late in the process.
Unclamp and Re-Clamp
- Between rough and finish passes, release the part from fixturing to allow it to relax. Re-clamp gently before the finish cut.
4. Managing Temperature and Coolant
Prevent Heat Buildup
- Aluminum’s high thermal expansion means even minor heat input can cause local growth and later shrinkage.
- Run plenty of coolant directed right at the cut—high-pressure or flood coolant is best for deeper cuts or thin sections.
- Minimize dry cutting unless required; if used, keep cuts very light and monitor part temps closely.
Use Sharp Tools and the Right Geometry
- Dull tools increase heat and force, both of which drive distortion.
- Use end mills designed for aluminum (high positive rake, sharp edges, and polished flutes or coating).
5. Design for Machining Stability
Identify and Address High-Risk Features
| Design Feature | Typical Risk | Preventative Action |
|---|---|---|
| Thin Walls | Easy to flex | Add ribs, thicken walls, minimize height |
| Large Flat Plates | Bowing | Specify stress-relieved/cast plate; support |
| Deep Pockets | Bulging floors | Use step machining, minimize pocket area |
| Asymmetric Parts | Twisting | Alternate sides; keep wall thickness uniform |
| Overhangs/Islands | Distortion | Provide support until late in process |
- Collaborate with design engineers to add support features, keep wall thickness uniform, and minimize unsupported thin areas if possible.
Quick Reference Table: Troubleshooting Milling Distortion
| Symptom | Likely Cause | Solution Summary |
|---|---|---|
| Bowing after unclamp | Uneven internal stress release | Flip part, machine both sides, use stress-relieved plate |
| Twisting | Asymmetric material removal | Balance cuts, flip part, minimize single-sided work |
| Floor bulging | Internal pocket stress, heat buildup | Light cuts, leave finish stock, strong cooling |
| Warping days later | Slow residual stress relaxation | Pre-stress-relieve stock, post-machining rest period |
| Immediate springback | Over-clamping in the vise | Use lower clamping force/soft jaws |
Summary: Key Takeaways to Prevent Warping
- Always use stress-relieved or cast plate where possible for demanding parts.
- Remove material in a balanced, stepwise manner—alternate sides, relieve stresses, and finish only after part is stable.
- Control cutting inputs—use light cuts, constant engagement, sharp tools, and plenty of directed coolant.
- Fixturing must avoid introducing new stresses; use soft jaws, vacuum, or distributed support clamps.
- Design parts with uniform wall thickness, avoid unnecessary thin or wide areas, and engage with machinists early in the process.
Implementing these best practices for aluminum milling minimizes the risk of bow and twist, maintains tight tolerances, and increases yield—especially for thin, flat, or precision-critical components found in aerospace, electronics, and high-end manufacturing.
References
» Minimize warpage when CNC-machining aluminum parts. (n.d.). protomatic.com. https://www.protomatic.com/minimize-warpage-when-cnc-machining-aluminum-parts
Any tips to prevent aluminum extrusion warping?. (n.d.). facebook.com. https://www.facebook.com/groups/voroncorexy/posts/1564878223940738
CNC Machining Warping: Root Causes and Proven Fixes. (n.d.). rapiddirect.com. https://www.rapiddirect.com/blog/cnc-machining-warping-causes-and-fixes
General | How to solve warping when milling aluminum | Practical Machinist - Largest Manufacturing Technology Forum. (n.d.). practicalmachinist.com. https://www.practicalmachinist.com/forum/threads/how-to-solve-warping-when-milling-aluminum.353114
How To Fix CNC Aluminium Warping Issues In Machined Parts - Frigate Manufacturing. (n.d.). frigate.ai. https://frigate.ai/cnc-machining/how-to-fix-cnc-aluminium-warping-issues-in-machined-parts
In aluminum machining, what are the most common factors ... (n.d.). engineering.stackexchange.com. https://engineering.stackexchange.com/questions/9/in-aluminum-machining-what-are-the-most-common-factors-that-might-cause-a-machi
Ultimate Guide To Prevent Warping & Stress in CNC Milling Aluminum. (n.d.). lsrpf.com. https://www.lsrpf.com/blog/ultimate-guide-to-prevent-warping-stress-in-cnc-milling-aluminum
Why do parts warp after machining? – Internal stresses and how to prevent them. (n.d.). radmot.com. https://radmot.com/blog/why-do-parts-warp-after-machining-internal-stresses-and-how-to-prevent-them