MetalsAlloy
How Do You Machine Pure Copper and Copper Alloys for Best Surface Finish and Tool Life?
Published:
Direct Practical Answer: Keys to Machining Copper and Its Alloys
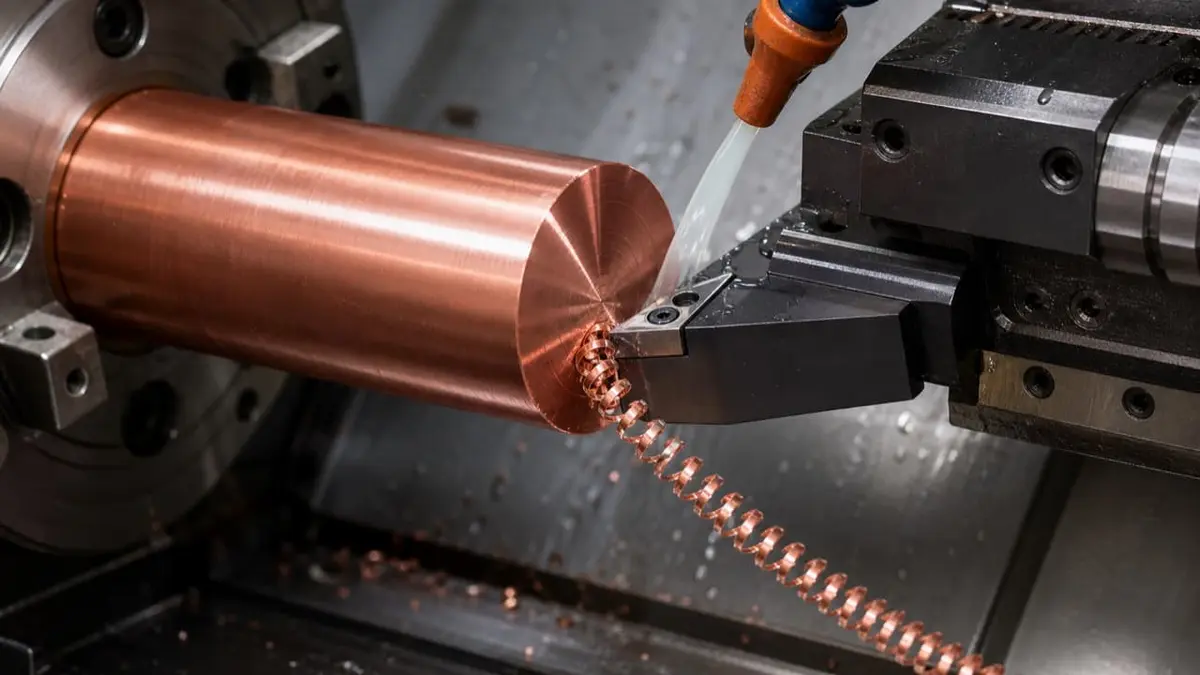
Machining copper and copper alloys requires sharp, positive-rake tooling, aggressive chip control strategies, high-concentration water-soluble cutting fluids, and careful selection of alloy and part condition. Pure copper is challenging due to sticky chips, built-up edge, and rapid tool wear; leaded brass and certain bronzes machine much more easily. Specify the alloy and temper, use sharp uncoated carbide (or PCD/CBN for production), and optimize speeds, feeds, and cooling for the material. Always secure pure copper with soft jaws or collets to avoid marking.
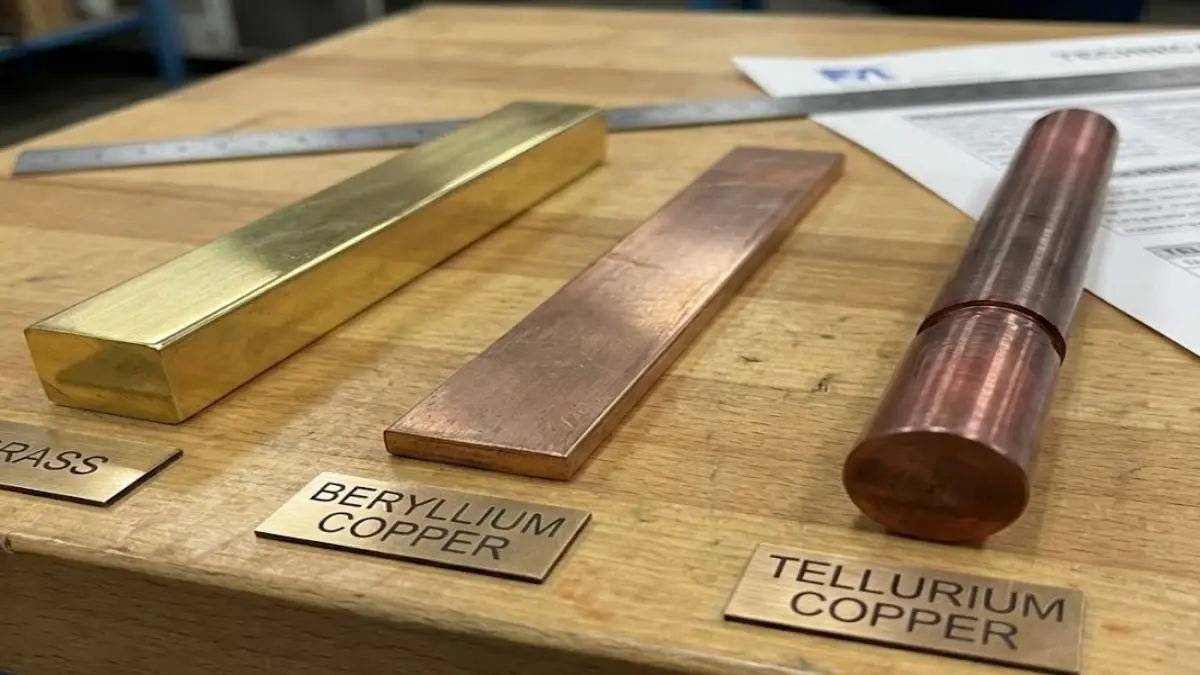
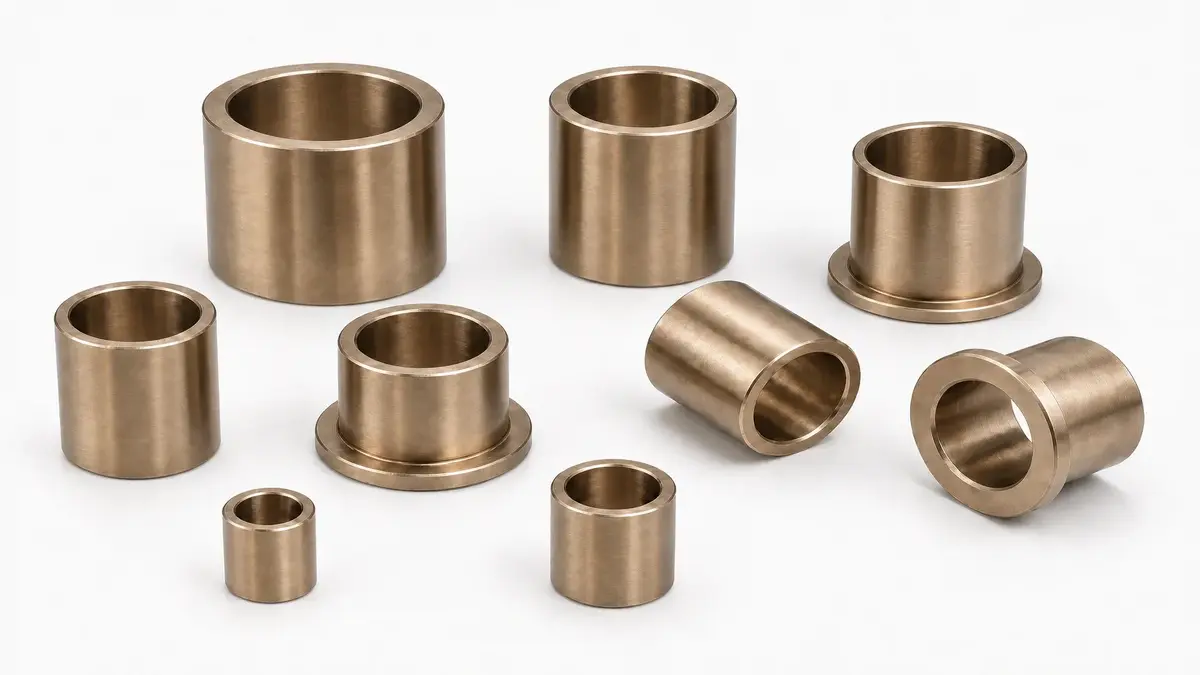
———-|——————–|—————————|———————|————————–|—————————————-| | C10100 | OFHC Copper | Electronics, electrodes | ~20% | Rod, bar, sheet | Highest conductivity, poor machinability| | C11000 | ETP Copper | Bus bars, contacts | ~20% | Rod, bar, sheet, wire | Most common pure copper | | C26000 | Cartridge Brass | Structural, drawn parts | ~30% | Rod, bar, sheet, tube | Moderate machinability | | C36000 | Free-Cutting Brass | Fittings, high-volume CNC | 100% | Rod, bar | Benchmark for copper alloy machining | | C93200 | Bearing Bronze | Bushings, bearings | Low to med. | Rod, tube | Good wear, more challenging than brass | | C17200 | Beryllium Copper | High-strength contacts | 20–30% | Rod, bar | Use with care due to toxicity |
*Machinability index: Relative to C36000 free-cutting brass = 100% (approximate, varies by test method).
- Pure copper (C101/C110): Excellent electrical and thermal conductivity; very soft and sticky, low machinability.
- Brass (C360): Standard for machinability; short chips, excellent surface finish achievable.
- Brass (C260): Good structural properties, worse chip control than C360.
- Bronze and specialty alloys: Better wear, but usually not selected for machining ease alone.
Condition (tempered/annealed) also matters: Machining half-hard copper gives slightly better chip control than full-anneal but not as much as a brass alloy. Always specify alloy, UNS number, condition, and product form on your drawings.
Why Pure Copper Is Difficult to Machine
Key Challenges
- Built-Up Edge (BUE): Copper strongly adheres to tool faces, causing the cutting edge to ‘build up’ with copper and changing its geometry unpredictably. This leads to surface tearing and rough finishes.
- Long, Stringy Chips: Pure copper is highly ductile, so chips do not break. They form continuous coils, which can tangle, damage surfaces, or create safety hazards.
- Smearing and Burrs: Rather than cutting cleanly, soft copper tends to deform and drag along the tool, causing smeared or wavy surfaces and significant burr formation.
- Tool Wear: Copper’s thermal conductivity causes heat transfer into the tool; work hardening isn’t a big issue, but frequent edge renewal is needed to maintain finish.
- Workholding Marks: Softness makes pure copper and half-hard alloys susceptible to jaw and clamp marks, especially when using standard hardened steel fixtures.
Best Tooling for Copper Machining
Choice of Cutting Tool Material
- Uncoated Fine-Grain Carbide: Standard for work with copper and brasses. Choose tools labeled for “aluminum”—they typically have high polish and sharp edges needed for copper.
- Polycrystalline Diamond (PCD): For production runs; virtually eliminates built-up edge and improves tool life but costly.
- CBN (Cubic Boron Nitride): Sometimes used for hard copper alloys or where extreme wear resistance is needed.
- High-Speed Steel (HSS): Usable, but wears quickly; best reserved for hobbyist or non-production settings.
Tool Geometry: Key Parameters
- Rake Angle: Use a positive rake, typically +8° to +12° for pure copper (higher rake than for most steels or even brasses). This promotes shearing rather than rubbing.
- Edge Prep: Use honed or highly polished cutting edges. Sharpness is critical—any burr or chip in the tool causes instant surface roughness.
- Clearance Angle: Slightly larger than for steel; 6°–10° is typical. Avoid excessive relief, which weakens the cutting edge and leads to chatter.
| Parameter | Pure Copper (C101/C110) | Brass (C360) | Notes |
|---|---|---|---|
| Rake Angle | +8° to +12° | +5° to +8° | Higher values for ductile, pure Cu |
| Tool Material | Uncoated carbide/PCD | Carbide | Avoid coatings for pure copper |
| Edge Prep | Highly polished, sharp | Polished | No buildup—resist smearing |
Avoid
- Tool coatings designed for steel (such as TiAlN): cause copper to weld to the tool.
- Dull/reused inserts: degrade surface finish immediately.
Chip Control and Chipbreaking Strategies
Managing copper chips is crucial:
- Use Chipbreakers: For turning, select inserts with chipbreaker geometry whenever possible. True chipbreaking is difficult in pure copper due to its ductility.
- Increase Feed Rates: Larger feed per revolution increases chip thickness and encourages fracture; too low a feed results in stringy, continuous chips.
- Programmed Retracts: For CNC, use programmed retracts or dwell commands to force chip breakage in deep turning operations.
- Milling: Prefer Climb Milling: Climb (down) milling creates largest chip thickness at cut entry, increasing likelihood of chip breakage.
- Manual Chip Clearing: Always clear chips frequently to prevent scratching the part or interfering with the tool path.
Cooling and Lubrication: Fluids for Machining Copper
Cutting fluids play a dual role: cooling and stopping chips from welding to the tool. Pure copper conducts heat so well that the tool rather than the workpiece absorbs most of the cutting heat.
- Flood Coolant: Essential for pure copper and beneficial for most copper alloys. Use a high-concentration (>8–10%) water-soluble oil emulsion or a high-pressure, well-directed coolant jet.
- Sulphurized Oil: For tapping and thread milling, use a sulphurized cutting oil to further reduce friction and gumming.
- Mist/Liquid Nitrogen: For micro-machining or production, specialized cooling (such as air blast or cryogenic) may be appropriate, but most shops do well with clean, filtered flood coolant.
- Dry Machining: Sometimes possible with certain copper alloys (brass), but generally not recommended for pure copper to prevent tool welding.
Watch For:
- Buildup of copper fines in the coolant tank; filter and change coolant more often than with steels or aluminum.
- Copper is prone to staining from dirty coolant—maintain cleanliness.
Speeds, Feeds, and Parameter Selection
The right cutting parameters depend on both the alloy and tooling. Failures such as built-up edge, rapid wear, and poor finish almost always track back to not enough speed or too dull a tool. Use the following as starting points:
| Parameter | C101/C110 (Pure Copper) | C260 (Cartridge Brass) | C360 (Free-Cutting Brass) | Notes |
|---|---|---|---|---|
| Surface Speed (carbide) | 200–350 sfm (61–107 m/min) | 350–500 sfm (107–152 m/min) | 500–800 sfm (152–244 m/min) | Higher = less BUE for pure copper |
| Feed Rate (in/rev) | 0.003–0.006 | 0.004–0.008 | 0.006–0.012 | Increase for chip control |
| Roughing Depth of Cut | 0.05–0.10 in | 0.075–0.150 in | 0.10–0.20 in | Smaller DOC for finishing passes |
| Finishing Depth of Cut | 0.005–0.010 in | 0.005–0.010 in | 0.010–0.020 in | Use spring pass for final OD |
| Thread Tapping Speed | 50–80 sfm (15–24 m/min) | 80–120 sfm (24–37 m/min) | 100–150 sfm (30–46 m/min) | Brass can tap at up to 3x copper speed |
- Increase speed if built-up edge appears.
- Decrease depth of cut for final surface finish passes.
- Use the largest possible feed that does not compromise accuracy; too slow promotes smearing.
Workholding and Surface Protection
- Use soft jaws or brass/aluminum jaw inserts when clamping soft copper alloys.
- For sensitive or cosmetic OD surfaces, use bored-to-size collets or fixtures lined with soft material.
- Never touch datum surfaces with steel jaws directly when finish or tolerance matters.
Special Tips and Best Practices
- Regularly Resharpen or Index Tools: Loss of edge sharpness is rapidly reflected on the part surface.
- Minimize Engagement Time: The longer the material is in contact with the tool (slow feed/speed), the more it smears; keep tools moving.
- Deburring: High ductility results in heavy burrs—plan for post-process deburring. Use high-rake tools to reduce burrs at source.
- Avoid Overheating the Tool: Watch for signs of edge softening, especially when hand-feeding. Allow time for coolant to reach the cutting zone before plunging into a pass.
- Use Adaptive Toolpaths: In CNC, toolpaths with uniform engagement minimize tool deflection and increase life, especially with high thermal loads.
- Drilling: Use peck cycles for deep holes to improve chip removal and reduce heat; reduce step size for pure copper.
- Cleanliness: Copper fines in machine way covers and tool magazines can cause problems—routine cleanup is essential.
Troubleshooting Table: Common Machining Copper Problems and Remedies
| Problem | Common Cause | Practical Remedy |
|---|---|---|
| Poor surface finish | Tool not sharp, BUE | Index/resharpen tool, increase speed |
| Chips wrap around part | Low feed, wrong geometry | Increase feed, use chipbreaker, retract |
| Excessive burrs | Dull tool, low rake angle | Use higher rake, sharper tool, deburr |
| Tool wear/short life | Heat in tool, low speed | Improve cooling, use PCD, raise speed |
| Workholding marks | Too much clamp force | Use soft jaws, check clamping pressure |
Summary: Best Practices for Machining Copper and Copper Alloys
- Carefully specify alloy and temper. Pure copper demands different practices than brass or bronze.
- Use sharp, highly polished, positive-rake tools—preferably uncoated carbide or PCD for high-production.
- Apply flood coolant with the appropriate high-concentration water-soluble oil.
- Optimize feed, speed, and tool geometry to avoid built-up edge, promote chip control, and preserve surface quality.
- Plan for heavy burrs on pure copper, and use high-rake finishing passes to minimize.
- Choose appropriate workholding to prevent marking the soft copper surface.
Following these guidelines, machinists can substantially improve surface finish, extend tool life, and gain effective chip control when working with copper and copper alloys—reducing headaches and scrap and improving part quality.
Make sure your tool is VERY keen. Don’t use it straight from the grinding wheel, hone a nice sharp
References
10 Tips for Machining Copper with CNC - cncrush.com. (n.d.). cncrush.com. https://cncrush.com/10-tips-for-cnc-machining-machinability-of-copper
CNC Machining Copper: DFM Guide (2026). (n.d.). makerstage.com. https://www.makerstage.com/resources/cnc-machining-copper
Copper Alloys for CNC Machining (2026). (n.d.). makerstage.com. https://www.makerstage.com/resources/copper-alloys-guide
Copper CNC machining. (n.d.). firstmold.com. https://firstmold.com/tips/copper-cnc-machining
Copper CNC Machining: Grades, Techniques & Custom Parts. (n.d.). proleanmfg.com. https://proleanmfg.com/blog/copper-cnc-machining
Machinability of Copper Alloys Explained | PDF | Bronze - Scribd. (n.d.). scribd.com. https://www.scribd.com/document/848779456/07260-16
Maximising efficiency in CNC machining of copper components. (n.d.). luvata.com. https://luvata.com/articles/maximising-efficiency-in-cnc-machining-of-copper-components
Recommended machining parameters for copper and copper alloys. (n.d.). kupfer.de. https://kupfer.de/wp-content/uploads/2021/08/Recommended-machining-parameters-for-copper-and-copper-alloys.pdf