MetalsAlloy
How Can You Control Distortion When Welding Thin Stainless Steel Sheet?
Published:
Direct Answer: How to Control Distortion When Welding Thin Stainless Steel Sheet
Controlling distortion in thin stainless steel sheet welding requires careful management of heat input, joint design, clamping, welding technique, and sequencing. To minimize warpage and maintain both dimensional accuracy and surface finish, use precise fit-up, intensive fixturing, tacking strategy, fast low-heat welding processes (like TIG or laser), balanced weld sequences, and if required, post-weld treatments. The following guide details actionable techniques, suitable for austenitic grades such as 304 and 316 in cold-rolled, annealed sheet form up to around 3 mm (11 gauge) thickness.
——————–|—————————————————————————|———————————| | Angular Distortion | Sheet bends toward/away from the weld, usually from one-sided welding | Visible warping, misalignment | | Bowing/Buckling | Gradual curve or local waviness along the length or width after welding | Panel becomes wavy | | Transverse Shrinkage | Sheet or component narrows across the weld | Hole misalignment, poor fit-up | | Twist | Opposite corners rise up, especially on large flat assemblies | Mounting issues, poor flatness | | Longitudinal Shrinkage| Panel shortens in the direction of the weld | Fit-up problems, general shape |
What Causes Distortion When Welding Thin Stainless Steel?
- Excessive Heat Input
- High amperage, slow travel, wide welds, or large filler size lead to excessive HAZ (heat-affected zone).
- Improper Joint Design or Oversized Welds
- Large or unnecessary welds amplify shrinkage and warpage.
- Unbalanced or Ineffective Fixturing
- Poor clamping fails to resist forces during cooling.
- Welding Sequence Errors
- Welding sides in succession, or without alternating, causes stress to build unevenly.
- Poor Fit-Up and Preparation
- Gaps or misalignment require extra weld metal (heat) and lead to unpredictable contraction.
- Material Factors
- Cold-worked or strained material resists or exaggerates movement.
- Dissimilar sheet thicknesses in a joint concentrate stress on the thinner member.
Proven Strategies to Control Distortion
1. Minimize Heat Input
- Use the lowest practical amperage and voltage for full fusion. For TIG/GTAW, thin gauge stainless can often be welded with 45–60A at a rapid travel speed.
- Shorten arc time: Aim for continuous, rapid movement; avoid lingering in puddle.
- Consider pulsed TIG or laser welding for precise heat targeting.
2. Optimize Joint Design and Weld Size
- Keep joints tight with precise fit-up: reduce or eliminate gaps.
- Match weld size to strength and code requirements—avoid oversized beads.
- Where possible, use intermittent (skip or stitch) welds instead of continuous full-length seams on non-critical joints.
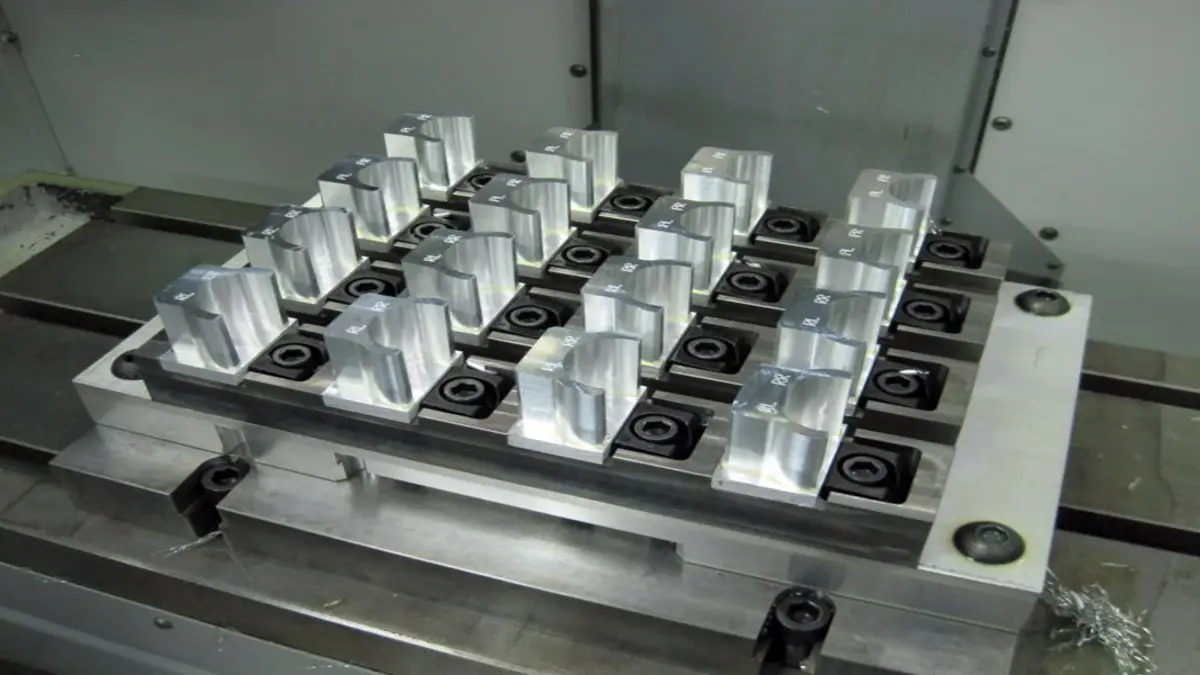
3. Intensive Fixturing
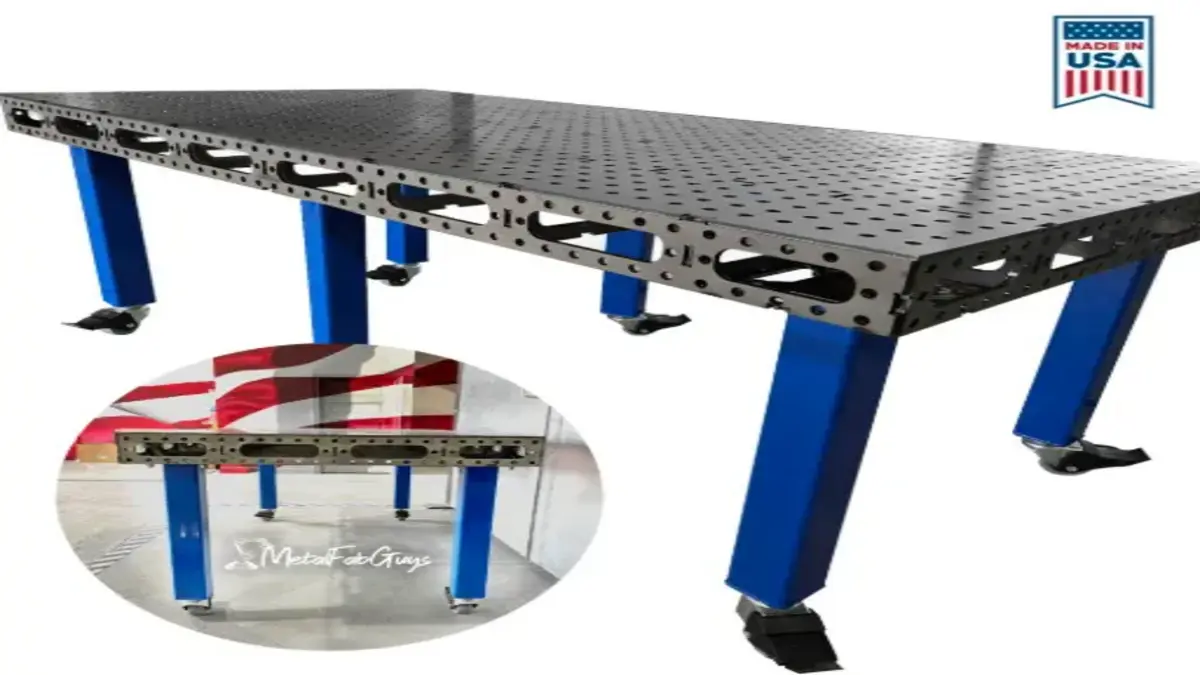
- Use robust stainless or aluminum fixtures to support and restrain the workpiece close to the weld zone.
- Employ thermal back bars, copper chill blocks, or heat sinks to absorb excess heat and maintain alignment.
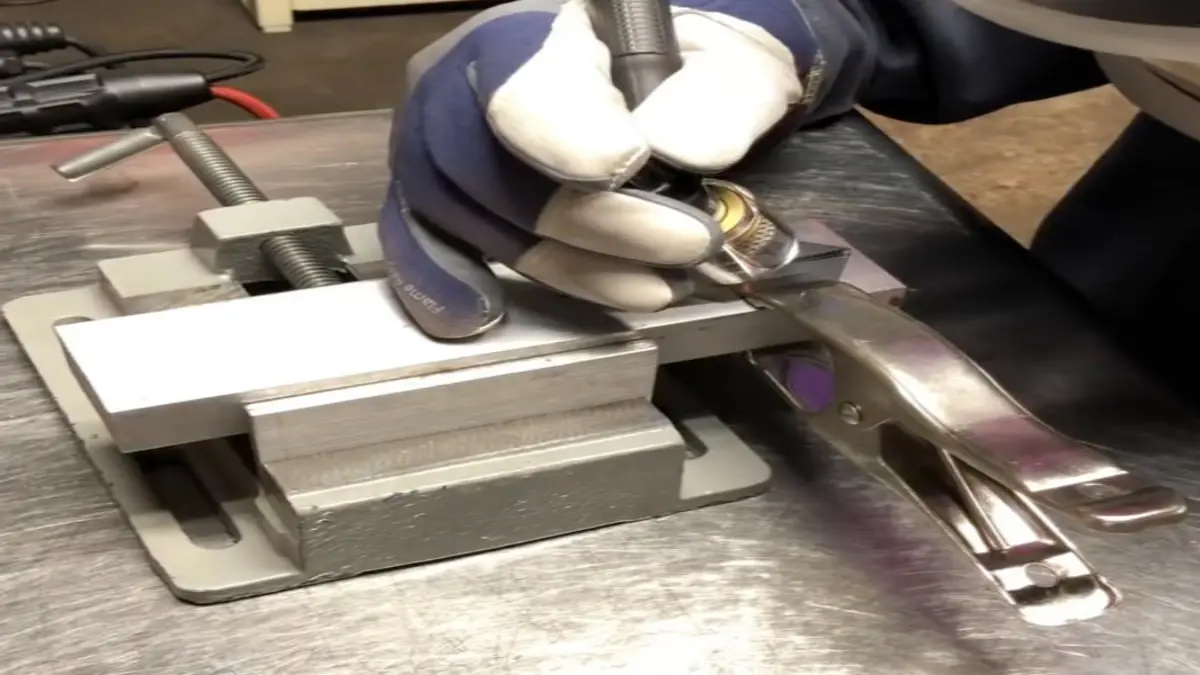
- Clamps should be tightened enough to prevent sheet movement but not deform the material before welding.
4. Tacking and Pre-Set
- Apply short, evenly spaced tack welds (closer than with carbon steel—often half the usual gap) to hold parts with minimum distortion.
- Sequence tacks to stabilize geometry; alternate locations before running full seams.
- On long seams, stagger tacks to balance contraction forces.
5. Strategic Welding Sequence
- Balance welds: Alternate between sides or opposite ends to equalize thermal stresses.
- Back-step/touch weld: Start at the center or at staggered points—work outward to ends, or fill in with skips.
- For continuous watertight seams, pre-tack, weld in short, controlled runs, cool, then proceed.
- Allow for natural cooling between passes.
6. Limit Weld Passes and Finishing Heat
- Plan clean fit-ups and one-pass fusion where possible—each additional pass adds heat and stress.
- Minimize grinding or surface finishing heat buildup after welding.
7. Control Cooling Rate
- Avoid forced rapid cooling, which can induce new stress.
- Allow gradual air cooling in a fixture.
- On some critical fabrications, controlled post-weld treatments (stress-relief annealing) may be justified.
8. Inspect and Correct
- Check flatness after release from all clamps and fixtures—panels may move when restraint is removed.
- For minor deformations, gentle mechanical straightening is often effective. On large or highly critical work, stress-relief heat treatment may be used if permitted by design.
Comparison of Welding Processes for Thin Stainless Sheets
| Process | Heat Input Control | Suitability for Thin Sheet | Typical Uses |
|---|---|---|---|
| TIG (GTAW) | Excellent | Best for <3 mm sheets | Cosmetic, sanitary welds |
| MIG (GMAW) | Good (when pulsed) | Good with experience | Structural, faster work |
| Laser | Outstanding | Ideal | Precision, high throughput |
| Resistance | Excellent | Only for overlap/spot | Spot welds, seams |
- TIG is preferred for its precision and low heat on small or intricate parts.
- Pulsed MIG can be adapted for thin sheet if properly controlled.
- Laser welding achieves the smallest HAZ and lowest distortion, but requires specific equipment and is common in larger production settings.
- Resistance welding is effective, but mostly for sheet overlaps or mass production of seams or spot welds.
Application Notes: Which Stainless Alloys and Sheet Types Does This Advice Cover?
- Material: Austenitic grades (most commonly 304, 316), cold-rolled sheet, annealed temper
- Thickness: Focused on 0.6 – 3 mm (approx. 24–11 gauge)
- Form/Condition: Flat sheet and press-brake-formed panels or boxes; not intended for heavy plate, bar, or hot-rolled product
- State: Clean, oxide-free, ideally stress-relieved/annealed after forming or prior to welding if heavily cold worked
- Criticality: Guidance is especially crucial in parts requiring flatness, precise fit-up, and high cosmetic finish
Summary Table: Distortion Control Techniques—Effectiveness and Best Uses
| Technique | Best For | Limitations |
|---|---|---|
| Careful Fixturing | Large panels, high flatness needed | Can slow work; setup time |
| Tacking Strategy | Most sheet thicknesses | Over-tacking adds heat |
| Fast, Low-Heat TIG | 0.6–2 mm gourmet/sanitary panels | Needs skilled operator |
| Pulsed MIG | 1.2–3 mm moderate duty | Less control than TIG on very thin |
| Laser | Precision, production panels | High equipment cost |
| Balanced Sequencing | Frames, multi-side work | Must be planned, interruptions |
| Stress-Relief | Highly stressed, complex shapes | Adds cost, can dull finish |
| Light Mechanical Straightening | Minor panel warpage after welding | Only corrects, not prevents |
Practical Example: TIG Welding a Thin Stainless Steel Box Panel
- Prepare edges precisely: clean, burr-free, and square fit-up to minimize gap.
- Clamp the panel in a rigid fixture: close to the joint line; use copper backing where possible.
- Apply frequent tacks (every 2-4 inches): alternate between sides.
- Weld with fast travel, low amps (45-60A on 1 mm sheet), vertical-down if joint allows: minimize dwell time in one place.
- Sequence welds: skip around, or, if longer seams, weld from the center outward in short increments, letting panel cool between runs.
- After cooling, unclamp and check for any movement; for minor bow, fine-tune by careful pressing or mallet work on a flat.
Final Tips and Practical Mistakes to Avoid
- Do not over-weld. More weld = more heat = more distortion.
- Do not weld continuously along one side or edge without alternation.
- Check tack weld spacing and ensure evenness. Irregular spacing or skipping tacks can let distortion escape restraint.
- Keep material clean. Dirt and oxide increase heat, slow cooling, and can trap stress.
- Examine after fixture release—not just on the bench.
When Is Post-Weld Correction Needed?
If the part is out of tolerance after release, light mechanical straightening or (if critical) a stress-relief heat treatment are appropriate. These are last resorts, as prevention is far more effective and produces higher finish quality.
Conclusion
Excellent results in welding thin stainless steel sheets are achievable with rigorous planning, fit-up, clamping, rapid low-heat welding, and strategic sequencing. Such discipline is essential for foodservice, architectural, or precision engineering work, where both appearance and function depend on perfect panel flatness and no sign of weld warpage.
References
6 Tips to Reduce Distortion in Stainless Steel Welding – VAYJO. (n.d.). vayjo.com. https://vayjo.com/metal-fabrication/6-tips-to-reduce-distortion-in-stainless-steel-welding
Avoiding distortion during welding stainless steels – British Stainless Steel Association. (n.d.). bssa.org.uk. https://bssa.org.uk/bssa_articles/avoiding-distortion-during-welding-stainless-steels
Fabrication: CNC Laser, Waterjet, Plasma, Welding | Controlling distortion welding stainless sheet? | Practical Machinist - Largest Manufacturing Technology Forum. (n.d.). practicalmachinist.com. https://www.practicalmachinist.com/forum/threads/controlling-distortion-welding-stainless-sheet.166209
How to Weld Stainless Steel Without Warping or Distortion. (n.d.). clickmetal.co.uk. https://www.clickmetal.co.uk/blog/post/how-to-weld-stainless-steel
Prevent Welding Distortion in Sheet Metal: Setup and Sequence | Know Steel. (n.d.). knowsteel.com. https://knowsteel.com/guide/how-to-prevent-welding-distortion-in-sheet-metal
Preventing Distortion During Welding of Stainless Steel Fabrication - Custom Stainless Steel Fabrication Service in China. (n.d.). customstainlessfab.com. https://www.customstainlessfab.com/blog/preventing-distortion-during-welding-of-stainless-steel-fabrication
Welding Distortion Control: Techniques for Thin Plates. (n.d.). machinemfg.com. https://www.machinemfg.com/welding-distortion-control
Welding Thin Sheet Metal: Heat Control, Distortion and DFM Guide. (n.d.). tzrmetal.com. https://tzrmetal.com/welding-thin-sheet-metal